Tina's Crochet Page- This is a blog where I keep all my patterns

Friday, March 23, 2007

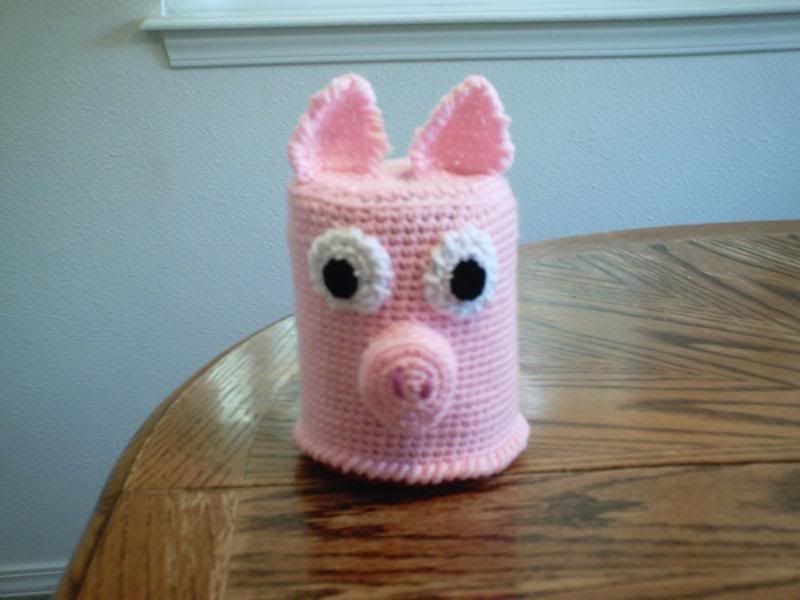
Stashbuster Coffee Can Cozy

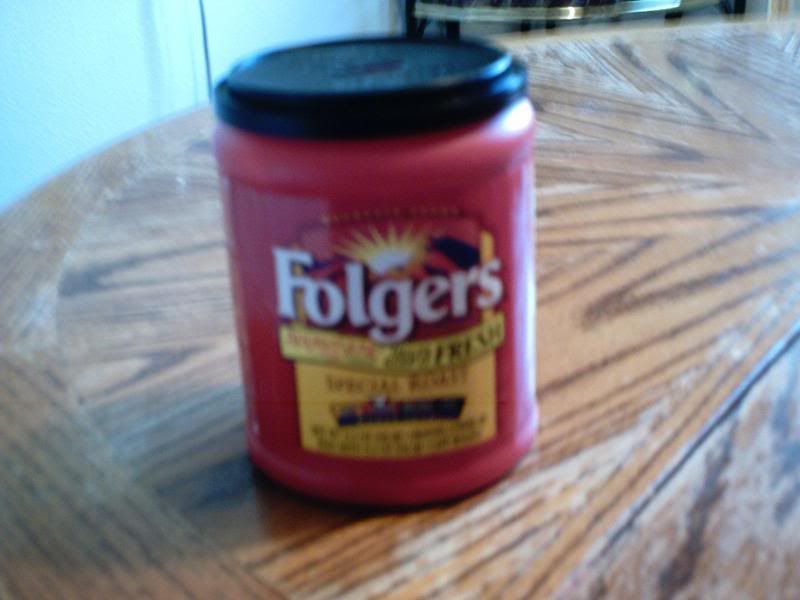
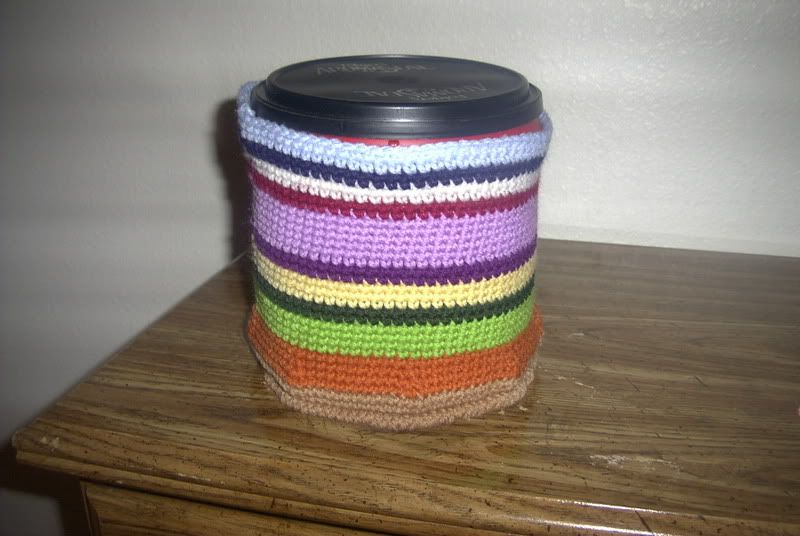
Well I wanted to do *more* with this, but I can't seem to think *what*.... So. Until I can think of anything else (a lid part), I thought I would just post what I have so far... I really didn't put a dent in my stash, but if you just used random balls of color you could really bust some stash. This coffee can cozy was made to fit a coffee can this size:
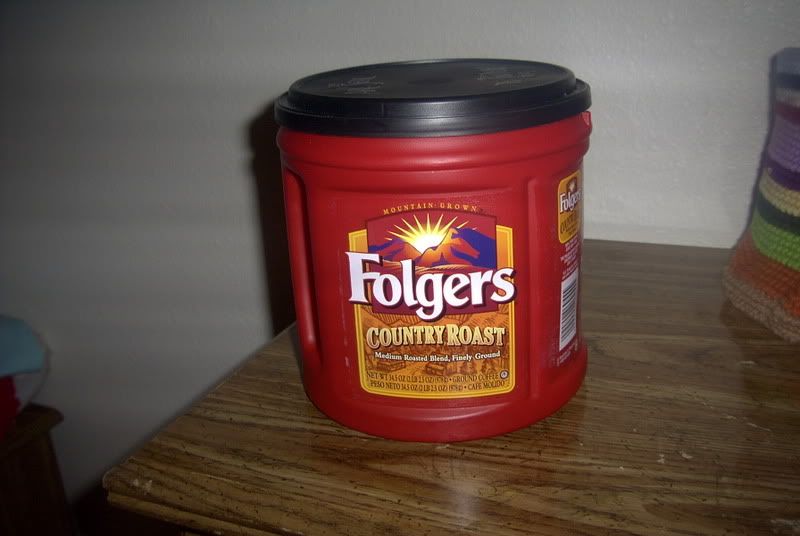
Please do not reproduce this pattern. What I mean is no selling on ebay or anywhere else. You can make one for your own personal use or as a gift. Enjoy. :)
You will need:
G hook
Scrap balls of ww yarn (I don't really know how much you will need for each row... sorry)
I like to start with a 'magic ring' like you do for an amigurumi toy. Alternately you could ch 2.
8 sc in ring (or, in 2nd ch from hook.) Join, picking up new color in last loop (or if you want to keep the same color...) This will be the method for picking up new colors, though, throughout the cozy. I will not say 'pick up new color in such and such row', you can just change colors whenever you want. :)
Rnd 2: Ch 1, 2 sc in each sc. Join. (16 sc).
Rnd 3: Ch 1, *sc in 1st sc, 2 sc in next sc. Rep from * around. (24 sc).
Rnd 4: Ch 1, *sc in next 2 sc, 2 sc in next sc. Rep from * around. (32 sc).
Rnd 5: Ch 1, *sc in next 3 sc, 2 sc in next sc. Rep from * around. (40 sc).
Rnd 6: Ch 1, *sc in next 4 sc, 2 sc in next sc. Rep from * around. (48 sc).
Rnd 7: Ch 1, *sc in next 5 sc, 2 sc in next sc. Rep from * around. (56 sc).
Rnd 8: Ch 1, *sc in next 6 sc, 2 sc in next sc. Rep from * aound. (64 sc).
Rnd 9: Ch 1, *sc in next 7 sc, 2 sc in next sc. Rep from * around. (72 sc).
Rnd 10: Ch 1, *sc in next 8 sc, 2 sc in next sc. Rep from * around. (80 sc).
Rnd 11: Ch 1, *sc in next 9 sc, 2 sc in next sc. Rep from * around. (88 sc).
Rnd 12: Ch 1, *sc in next 10 sc, 2 sc in next sc. Rep from * around. (96 sc).
Rnd 13: Ch 1, *sc in next 11 sc, 2 sc in next sc. Rep from * around. (104 sc).
Rnd 14: In front loops only, sc backwards in each sc around. Fasten off.
Rnd 15: Join new color (or same color) anywhere. Ch 1, sc in each sc around. (104 sc).
Rnd 16: Ch 1, sc in each sc.
Rnd 17: Ch 1, *sc in next 11 sc. 2 sc together. Rep from * around. Sc in last sc. (97 sc).
Rnd 18: Ch 1, *sc in next 10 sc. 2 sc together. Rep from * around. Sc in last sc. Join. (89 sc).
Rnd 19: Ch1, *sc in next 9 sc. 2 sc tog. Rep from * around. Join (82 sc).
Rnd 20- ?: Ch 1, Sc in each sc around. Join. (Work until it is as long as you want then fasten off.) You can also do a sc backwards around to finish if you are just using it as is. Have Fun! :)

Saturday, August 25, 2007

"Piggy Bank"

I am actually surprised anyone would want this, but... Hey. Maybe if you have better luck with some different eyes... I guess it could be kinda cute in a 'Spongebob Squarepants' kinda way, or some of those new weird looking cartoons they have out now... :p
Anyway~~ This is where you put the money in (this picture didn't finish loading... woops...)

And this is the size can I used. A Folgers 11.5 oz coffee can. Now for the pattern:
"Piggy Bank"
Worsted weight yarn, pink (I had an 8 oz skein of Red Heart- I did not use the whole thing), small amount white and smaller amount black (if crocheting the eyes). Also, dark pink or black to backstitch the 'nostrils' onto the pig snout. Alternately, for the eyes, you could use some huge googly eyes, if you wanted... or felt... (Maybe it wouldn't look so *scary* then LOL!) :p
G (4.5 mm) hook
11.5 oz. (or thereabouts) coffee can
Tapestry needle to sew on snout and/or eyes
Ch 9. Skip 1st ch. Sc in 2nd ch from hook and in each ch across. Ch 1, turn. (8 sc)
Row 2: 2 sc in 1st sc. Sc in each sc across to last sc. 2 sc in last sc. (10 sc). Ch 1, turn.
Row 3-5: Repeat row 2. (12 sc, 14 sc, and 16 sc).
Row 6: Sc in each sc across. Ch 1, turn.
Row 7: Rep row 2. (18 sc)
Row 8: Rep row 6.
Row 9: Sc in next 6 sc. Ch 6. Skip 6 sc. Sc in next 6 sc. (12 sc, 6 chs.) Ch 1, turn. (This is the opening for the coins to go in...)
Row 10: Sc in next 6 sc. Sc in next 6 chains. Sc in last 6 sc. (18 sc). Ch 1, turn.
Row 11: Sc dec over 1st 2 sc. Sc in each sc across to last 2 sc. Sc dec over last 2 sc. (16 sc). Ch 1, turn.
Row 12& 13: Rep row 11. (14 sc, 12 sc) Ch 1, turn.
Row 14: Sc across. Ch 1, turn.
Row 15& 16: Rep row 11. (10 sc, 8 sc) Do not ch 1 and turn at end of row 16. Do not fasten off. Ch 1. Sc evenly around edge of circle. Join. I had 16 sc on each "side", and 8 sc on each "end"= Total of 48 sc all around. Now, you may want to add another row of sc around, here. I didn't for mine and it was a little snug. (I probably wouldn't add two rows, though.) My lid section measured 4" across. Fasten off.
Join yarn (in back loop only for this round). Sc in each loop around. (48 sc)
Rnd 2: *2 sc in 1st sc. Sc in next 7 sc. Rep from * around, ending w/ 2sc in last sc. (56 sc)
Rnd 3: Ch 1, sc in each sc. Join.
Rnd 4-24: Rep row 3. At end of row 24, *this is optional*: Do not fasten off. Ch 1, and sc backwards in each sc around. Fasten off. (Otherwise, just fasten off at end of row 24.)
Ears (make 2):
Ch 8. Sc in 2nd ch from hook, and in each ch across. Ch 1, turn.
Row 2: Sc in each sc across. Ch 1, turn.
Row 3: Sc 1st 2 sc together. Sc in next 3 sc. Sc last 2 sc together. Ch 1, turn.
Row 4: Repeat row 2.
Row 5: Sc 1st 2sc together. Sc in next sc. Sc last 2 together. Ch 1, turn.
Row 6: Rep row 2.
Row 7: Sc all 3 sc together. Fasten off.
Join yarn in 1st sc on either side, ch 1, sc backwards all around top two sides of pig ears. Fasten off, leaving a long length so you can sew it onto top of piggy bank.
Snout
(Do not join at end of rounds for the snout)
Ch 2. (Or alternately, if you know how to do a "magic ring", you could do that; to avoid the 'hole'.)
Rnd 1: 6 sc in 2nd ch from hook (or in ring).
Rnd 2: 2 sc in each sc around. (12 sc)
Rnd 3: *2sc in 1st sc. Sc in next sc. Repeat from * around. (18 sc)
Rnd 4: *2 sc in 1st sc. Sc in next 2 sc. Rep from * around. (24 sc). Now you may join to 1st sc, and fasten off.
Join yarn in any sc (in back loops only for this round.) Sc in each sc around. (You are joining rounds now.)
Rnd 2: Ch 1, sc in each sc around. Join.
Rnd 3: *Sc 2 sc together. Sc in next 5 sc. Rep from * aourn, w/ 2 sc in last 2 sc. (19 sc). Join.
Rnd 4: Ch 1, sc in each sc around. Join. Fasten off, leaving a long length to sew snout to 'head'. Stuff to desired amount. Sew onto front of head, using the photo as a guide. (I like to put the cozy on the can, then sew on the things, it makes it easier for me, anyway....)
Eyes (Make 2)
With white, ch 2 (or alternately, again, you could do a 'magic ring'). 6 sc in 2nd ch from hook (or in ring). (Do not join at ends of round for the eyes...)
Rnd 2: Ch 1, 2 sc in 1st sc. Sc in next 2 sc. 2 sc in next sc. Sc in last 2 sc. (8 sc)
Rnd 3: 3 sc in 1st sc. Sc in next 3 sc. 3 sc in next sc. Sc in next 3 sc.(12 sc).
Ch 1, and sc backwards all around eye. Fastend off, leaving a long length to sew on with.
Pupils
With black, ch 2. 6 sc in 2nd ch from hook.. Fasten off, leaving a long lenght to sew onto eye.
Finishing: Sew pupils onto eyes. Sew eyes onto head. You can use the photo as a guide, or eyeball it (LOL I crack myself up....) Ha ha ha...
Sew ears onto top of cozy. I sewed them right in front of the 'slot' part, and tried to kind of curve them to look like a pig ear (?). Don't forget to cut a slot in your coffee can and line up the two holes. Have Fun! (Oink, oink...) (Oh I'm in a mood today...) :P
I forgot to add: This pattern has not been tested. This is the only one I have made. So if you come across any problems, let me know. :)


Saturday, December 15, 2007

Tall Peppermint Mocha, with Soy, Please?

Oh, and extra whip, too? :D I don't know where the idea for this came from... Maybe the Peppermint Mocha coffee I got today? This is one of those ideas that just popped in my head and I had to get it out... :P
Sorry the pic is so blurry...
I used a G hook and Red Heart WW yarn for this. Caron Bliss for the 'whip cream'.... or you could use fun fur, too.. Small amounts of each. I hook for the "whip" ;P
With red, ch 38 and join to make a 'ring', being careful not to twist the chain.
Round 1: Ch 1, sc in each sc around, picking up white in last loop. Don't fasten off each time. (I just left the red, and then picked it back up in the following round...)
Rnd 2: With white, repeat round one.
Repeat round one, switching colors for a total of nine rows. Fasten off red at end of row 9.
"Whip Cream"
With I hook, make a sl st and attach caron bliss in beginning stitch, front loop only all around: Ch 1, sc in each sc around. Join. Fasten off.
With red, and bottom of cozy facing you, attach w/ G hook in first stitch (you will be working in free loops of bottom of round one).
Ch 1, and sc in same stitch. *Ch 1, and skip next loop. Sc in next loop. Repeat from * around. Join. Fasten off.
With red and G hook, ch 52, (leaving long lengths to tie on tassels later.) Fasten off.
Make tassels: With red and white held together, I wrapped around four fingers five times. Cut. Cut a long length of red to tie, pull loop through top of tassel and make a knot. Cut ends of loops. Cut all ends even then tie(with long length of tie, tie a knot with one of the free ends of the ties) to the ends of ties. Then with white, I made a knot to make the tassel about a half inch from the top of the tassel. Make one on each end. Be sure to pull the ties through the loops before you make the tassels on both ends, or you won't be able to get it through the loops...
I hope that makes sense. I have only made this one, so far. And it hasn't been tested.